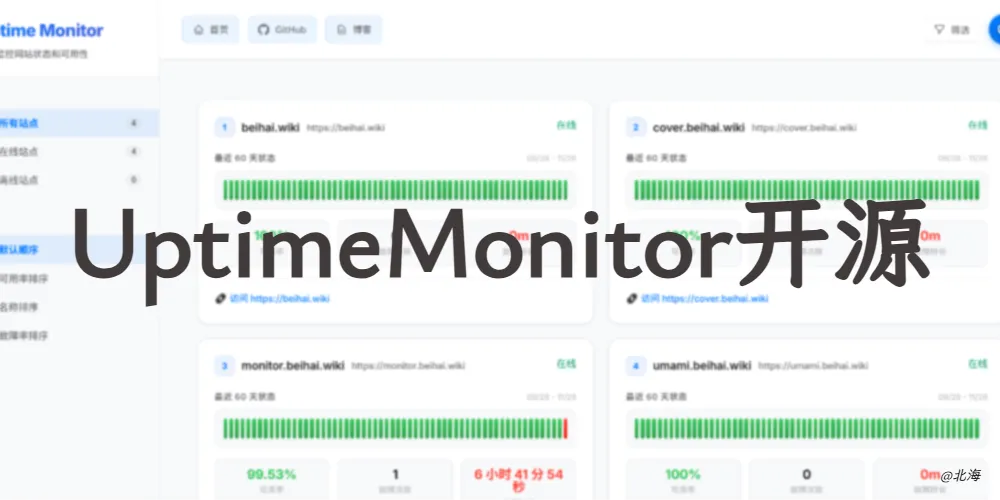
我开源了UptimeMonitor网站健康监控平台

Uptime Monitor
🚀 基于 UptimeRobot API 的现代化在线状态监控面板
一个开源、美观、易用的网站状态监控解决方案,实时展示您的网站可用性和性能数据。
✨ 功能特性
- 🌟 现代化界面 - 基于 React 18 构建,响应式设计,完美适配桌面端和移动端
- 📊 实时监控 - 通过 UptimeRobot API 实时显示网站状态和可用性
- 📈 数据分析 - 展示历史数据、统计信息和 uptime 趋势图
- 🎨 高度可定制 - 支持自定义配置、主题和品牌化
- 🌐 多语言支持 - 中文界面,技术术语双语显示
- ⚡ 零配置部署 - 纯静态文件,可部署到任何静态托管服务
- 🔒 安全可靠 - 支持只读 API 密钥,保护您的数据安全
- 📱 移动端优化 - 专为移动设备优化的用户界面
🚀 快速开始
前置要求
- UptimeRobot 账户和 API 密钥
- 基础的网页托管服务(Nginx、Apache、静态存储等)
方式一:直接部署(推荐)
-
下载最新版本
1
2
3
# 下载预构建文件
curl -L -o uptime-monitor.zip https://github.com/yb/uptime-monitor/releases/latest/download/uptime-monitor.zip
unzip uptime-monitor.zip -
配置项目
编辑
public/config.js文件:1
2
3
4
5
6
7
8
9
10window.Config = {
SiteName: '我的状态监控', // 显示标题
ApiKeys: ['your-api-key'], // UptimeRobot API 密钥
CountDays: 60, // 显示天数
ShowLink: true, // 显示站点链接
Navi: [ // 导航菜单
{ text: '首页', url: 'https://example.com' },
{ text: 'GitHub', url: 'https://github.com/username' }
]
}; -
上传到服务器
将所有文件上传到您的网页托管空间即可。
方式二:本地开发
1 | # 克隆仓库 |
📋 配置说明
| 参数 | 类型 | 说明 | 默认值 |
|---|---|---|---|
SiteName |
string | 网站标题 | "Uptime Monitor" |
ApiKeys |
string[] | UptimeRobot API 密钥数组 | [] |
CountDays |
number | 显示天数 | 60 |
ShowLink |
boolean | 是否显示站点链接 | true |
Navi |
object[] | 导航菜单配置 | [] |
高级配置
1 | window.Config = { |
🛠️ 技术栈
- 前端框架:
- 构建工具:
- HTTP 客户端:
- 样式预处理:
- 日期处理:
- 工具提示:
📦 部署指南
静态托管服务
本项目可以部署到任何支持静态文件的托管服务:
| 服务 | 部署方式 | 说明 |
|---|---|---|
| GitHub Pages | 自动部署 | 连接仓库自动构建 |
| Netlify | 拖拽部署 | 直接拖拽构建文件夹 |
| Vercel | Git 集成 | 连接 GitHub 仓库 |
| 阿里云 OSS | 上传文件 | 静态网站托管 |
| Nginx | 配置代理 | 反向代理到静态文件 |
🔧 配置详解
基础配置
编辑 public/config.js 文件进行基础配置:
1 | window.Config = { |
Nginx 配置示例
1 | server { |
API 代理配置(可选)
如果遇到 CORS 问题,可以配置 API 代理:
1 | server { |
🤝 贡献指南
我们欢迎所有形式的贡献!请阅读我们的 贡献指南 了解详细信息。
如何贡献
- Fork 本仓库
- 创建 功能分支 (
git checkout -b feature/amazing-feature) - 提交 更改 (
git commit -m 'Add some amazing feature') - 推送 到分支 (
git push origin feature/amazing-feature) - 创建 Pull Request
开发环境设置
1 | # 安装依赖,推荐使用pnpm |
📄 许可证
本项目采用 MIT 许可证 开源。
🙏 致谢
- UptimeRobot - 提供强大的监控 API
- React - 现代化的前端框架
- uptime-status - 一代开发者
- 所有贡献者和支持者
📊 项目统计
如果这个项目对您有帮助,请给我一个 ⭐️
Made with ❤️ by BeiHaiWiki
Star History
有需要或问题联系我
| 微信 | |
|---|---|
|
|
评论 ()


欢迎来到我的博客!
这里记录了我在学习过程中积累的经验和一些开源项目的分享。感谢您的访问,希望您能在这里找到您感兴趣的内容。祝您生活愉快!
这里记录了我在学习过程中积累的经验和一些开源项目的分享。感谢您的访问,希望您能在这里找到您感兴趣的内容。祝您生活愉快!
北海
只有迎风,风筝才能飞得更高。